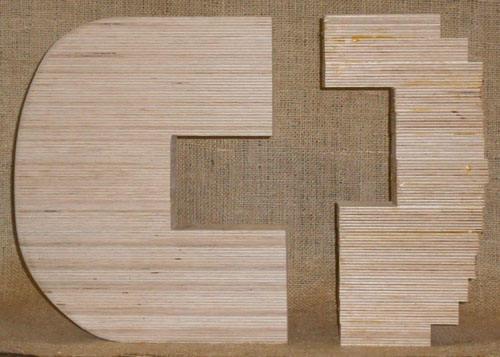
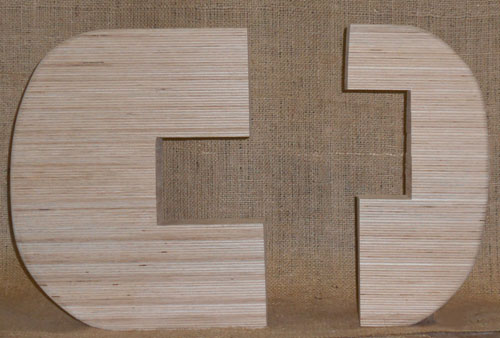
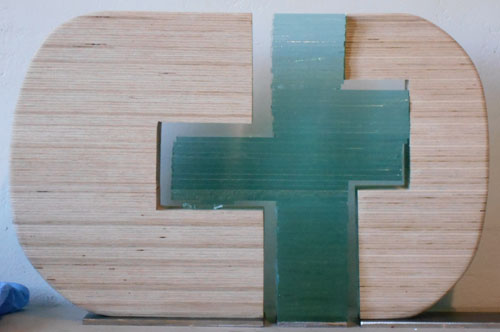
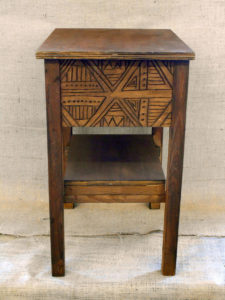
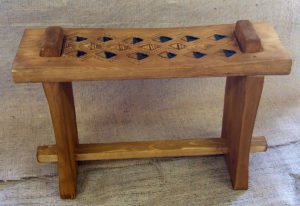
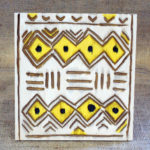
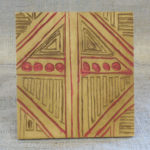
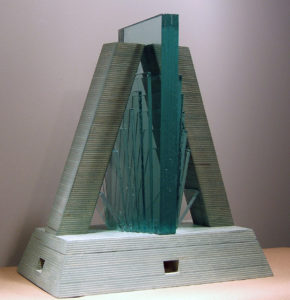
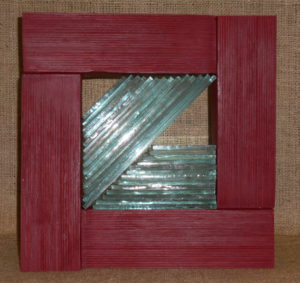
I wanted to build a side table to go next to my favorite reading chair. While I was looking at various sites Youtube, I ran across one on DIY Huntress https://www.youtube.com/watch?v=xf9wemZo1IU . Wow! I made a few modifications to fit my needs and presto, one African Mud Cloth inspired side table. I also made a stool, and 2 trivets with a mud cloth inspired designs. It was great fun carving the designs and using aniline dye to color everything. Piles of sawdust. Crescendo went through a series of thoughts and redesigns before reaching its final form. As I stated in an earlier blog, the glass pattern is a happy accident. The angled glass and sloping sides give it an Art Deco feel. The finished piece is rather heavy due to all of the glass. It is 16” tall x 14” wide x 8” deep. Red Oblique is my newest sculpture. It’s 12″ x 12″ x 2″. I am continuing to explore stacked glass and stacked/laminated baltic plywood. I have gone with a bolder, darker more solid color. The previous pieces have had a translucent stain like color. Designing and building sculptures is a multi step process. First the various design ideas. I personally like visually asymmetrically balanced sculptural designs. The final design rarely look even vaguely like the original design thoughts. Then comes the decision of what materials to use: steel, cedar, glass, baltic plywood, synthetic stone or something else. Then the technical details of how to attache the disparate materials together and how to physically balance the sculpture so that it will stand up. Then comes actually building the work. But, one of the hardest parts is naming the piece. By the time I have finished all of the above processes, I am tempted to just number the piece and not give it a name. This, I have been told by people in the know, is not acceptable. It MUST have a unique name. So, hence Crosstown. Enough of the serious sculpture! Now for some Christmas presents. I made some of these for presents last year, but forgot to take any photos. Silly me. I will be giving a demonstration at the Haywood County Arts Council in downtown Waynesville on Saturday, November 2, from 1-4 p.m. on how to make one. I have really liked the way that laminated baltic plywood works with stacked glass. The lines compliment each other. This piece has both the stacked glass and laminated plywood lines running horizontally. The first image is after I shaped the left side, but before the right side is completely shaped. The second image is after the right side shape was finished. This image is the first glass test. I need to do some fine tuning to get the proportions just right. Its not quite there yet. Steel Quilt Squares – – Beginnings
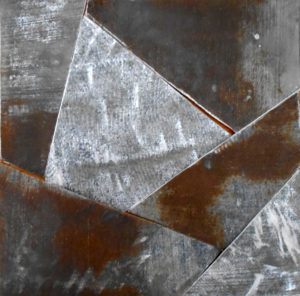
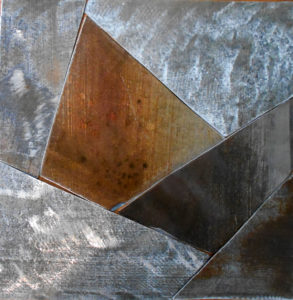
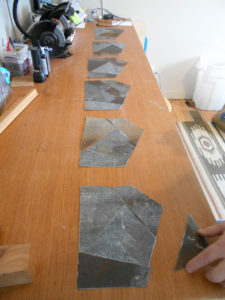 I did a stitched steel clock last year. I did a woven steel clock this year. I thought, what the hell, why not a steel quilt square? These haven’t been stitched welded yet, just dry fit if you will. So far…
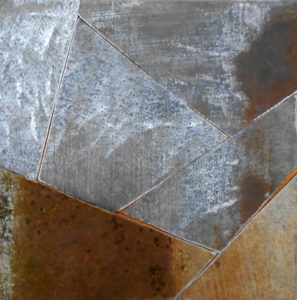
Steel Warp & Weft Woven steel and cedar grandfather clock
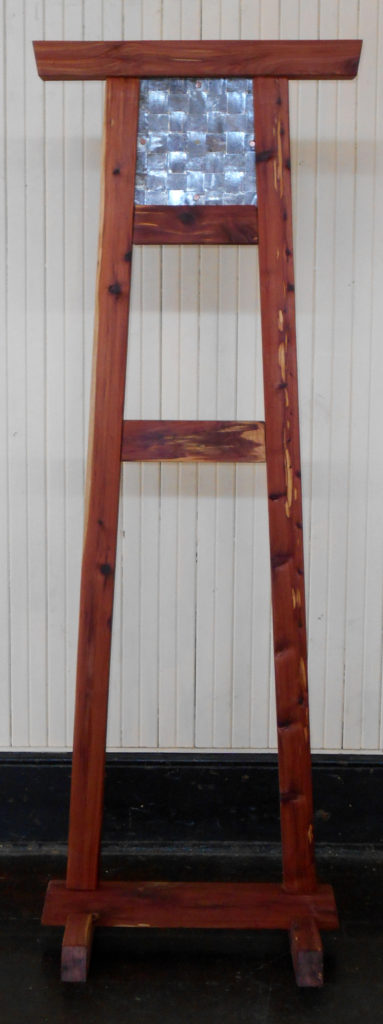 Here is the newest. It a woven steel grandfather clock. I cut out a crazy quilt pattern in stainless steel that I was going to stitch together for a clock face. Then I cut out 1 inch strips of stainless steel to try weaving them. Great idea, but stainless steel is way hard and stiff. No weaving. Next I tried old rusted steel roofing. Now that is flexible enough to weave. Then I added 4 handmade copper rivets at the 12, 3, 6, and 9 positions. (Long story about Medicare annual checkup with cognitive test using clock face. I’ll spare you the details) I built a Japanese/Mission style clock to hold it. Then I pre-assembled it on my work table. I climbed up on a chair (Don’t do this at home) to look at it and photograph it, it was of course fore-shortened. The sides were wider at the bottom. Wow. Epiphany!! So I built it that way.
Steeling Time A Stacked stainless steel and baltic plywood wall clock
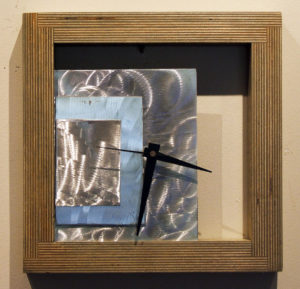 Forgive me viewers it has been over two months since my last post. I have made a small wall clock of stacked stainless steel and baltic plywood, but haven’t been able to get a good picture of it. Hope to do that in the next week. Here is the best one I have at present. The black across the back at the top is a shadow.
African Mud Cloth Inspiration
Crescendo Stacked Glass and Laminated Baltic plywood sculpture
Stacked glass and baltic plywood sculpture Red Oblique
Stacked glass and baltic plywood sculpture Crosstown
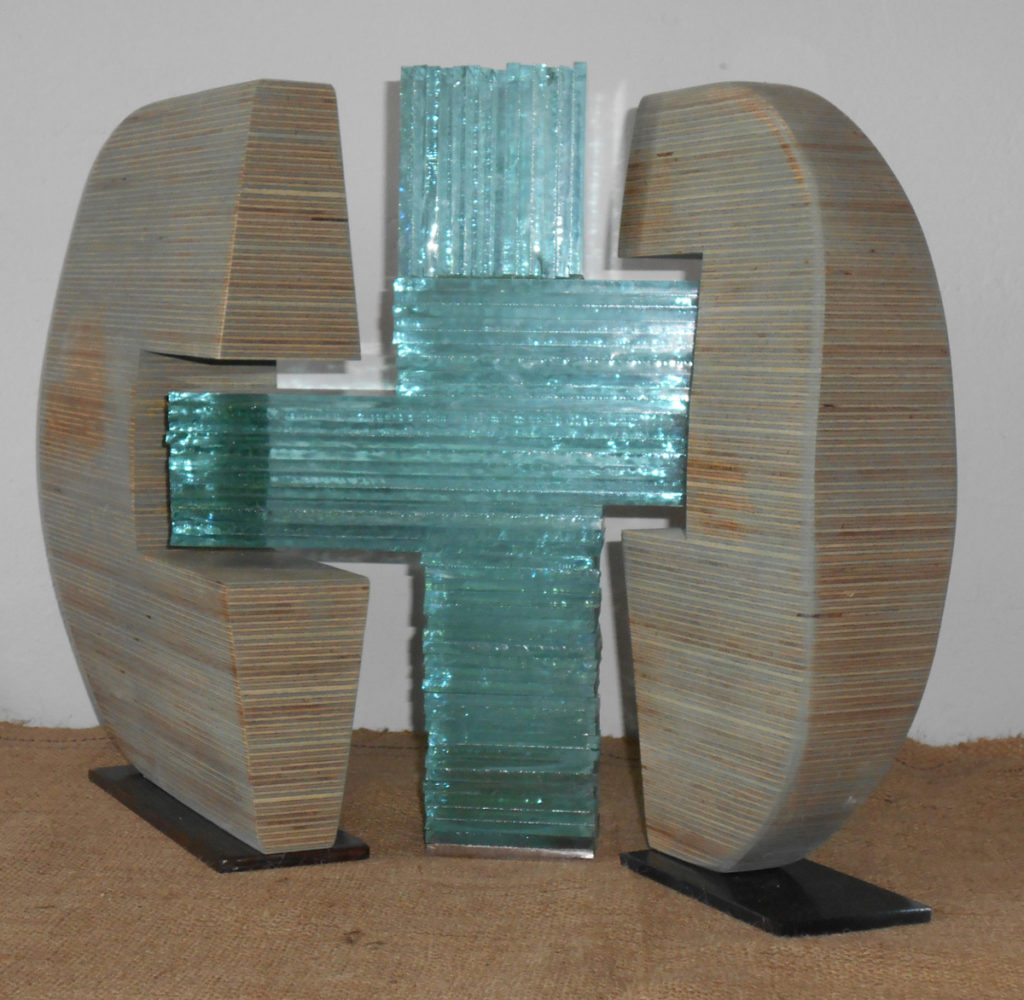 Here is Crosstown, my newest stacked glass and baltic plywood Triptych sculpture. An earlier blog shows some of the steps I went through to get to the final piece.
Christmas Tree of stacked glass
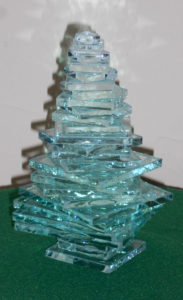
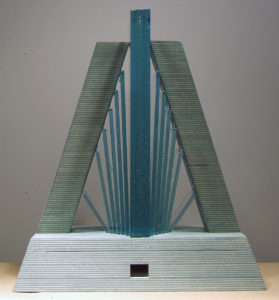
Stacked glass and baltic plywood pyramid
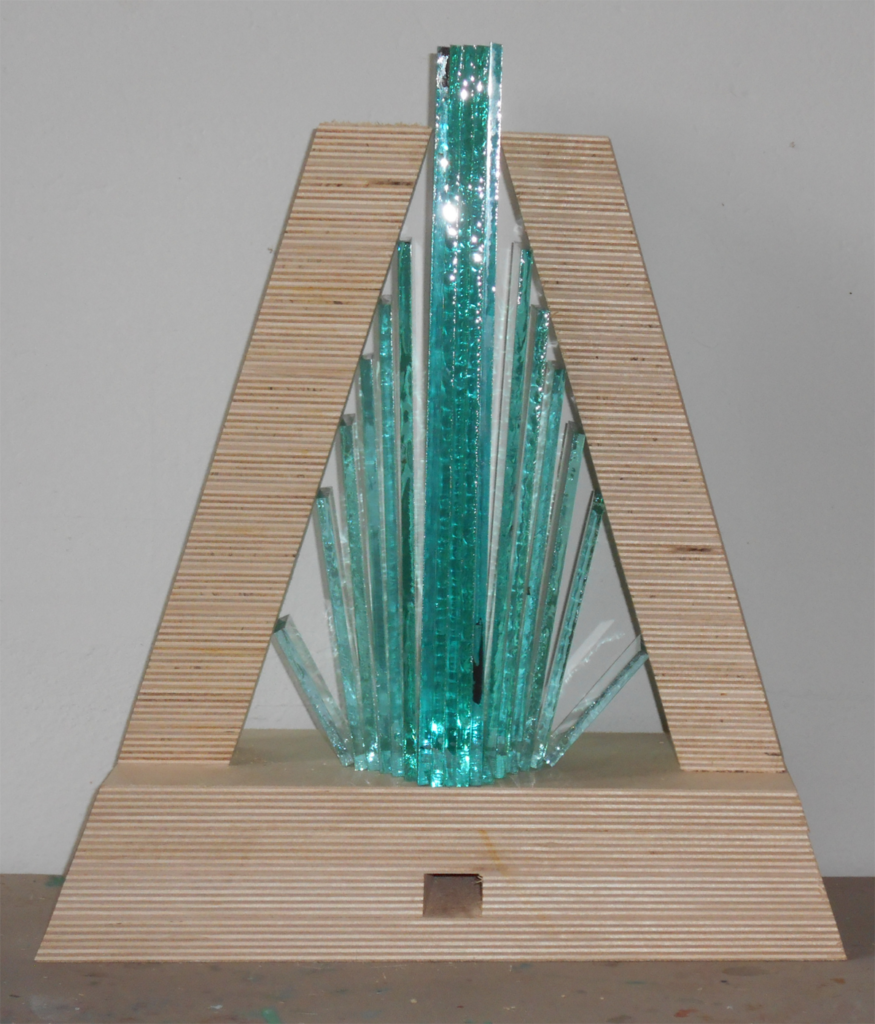 Another stacked glass and stacked baltic plywood sculpture in progress. I haven’t stained the wood parts yet nor glued the glass. The glass pattern is a happy accident. I was stacking it vertically when it tipped to the sides.
New stacked glass and baltic plywood sculpture